Tuesday 29 October 2013

Mini Brief - Street Photography


Mini Brief - Street Photography


To Produce a series of images fitting the theme of Street Photography. Record ambient sounds, from these you will assemble a slide show.


To complete this assignment our group met  in rainy Manchester city centre to go and take some pictures of the life on the street , I have managed to take some pictures but I didn't record any sounds as I got lost somewhere in town .

 I have  put a slide show of the pictures from Manchester City Centre without sound :

Mini Brief - Street Photography (no sound)


Nature

Because I got really poorly that was the barrier for me to complete this task , and the deadline wasn't that far away I needed to go out and do as much as I can even thought I wasn't feeling really well, I decided to go the park just behind my house and record the sound of the nature. I took the pictures of the ducks but to get their attention I had to feed them at the same time as I was taking the photographs.

I have edited the pictures in Photoshop by changing contrast on level on all of them, till I was happy with the result.

 
Slide show with sound:


Sunday 20 October 2013

Mini Brief - Art and Design

Mini Brief - Slide show 

To produce a series of 5 images that work sequentially, and show a creative use of camera controls, digital techniques or a mixture of both.

Baby Girl

For this project I have had a lot of different ideas but i wasn't sure with one I want to use  so ,I have used the opportunity of going to Warrington to see my goddaughter and as I took a lot of pictures of her , I decided that she will be my subject for the mini brief. 

While doing this I had so much fun but I still managed to get some work done.


Image1 : Still Image


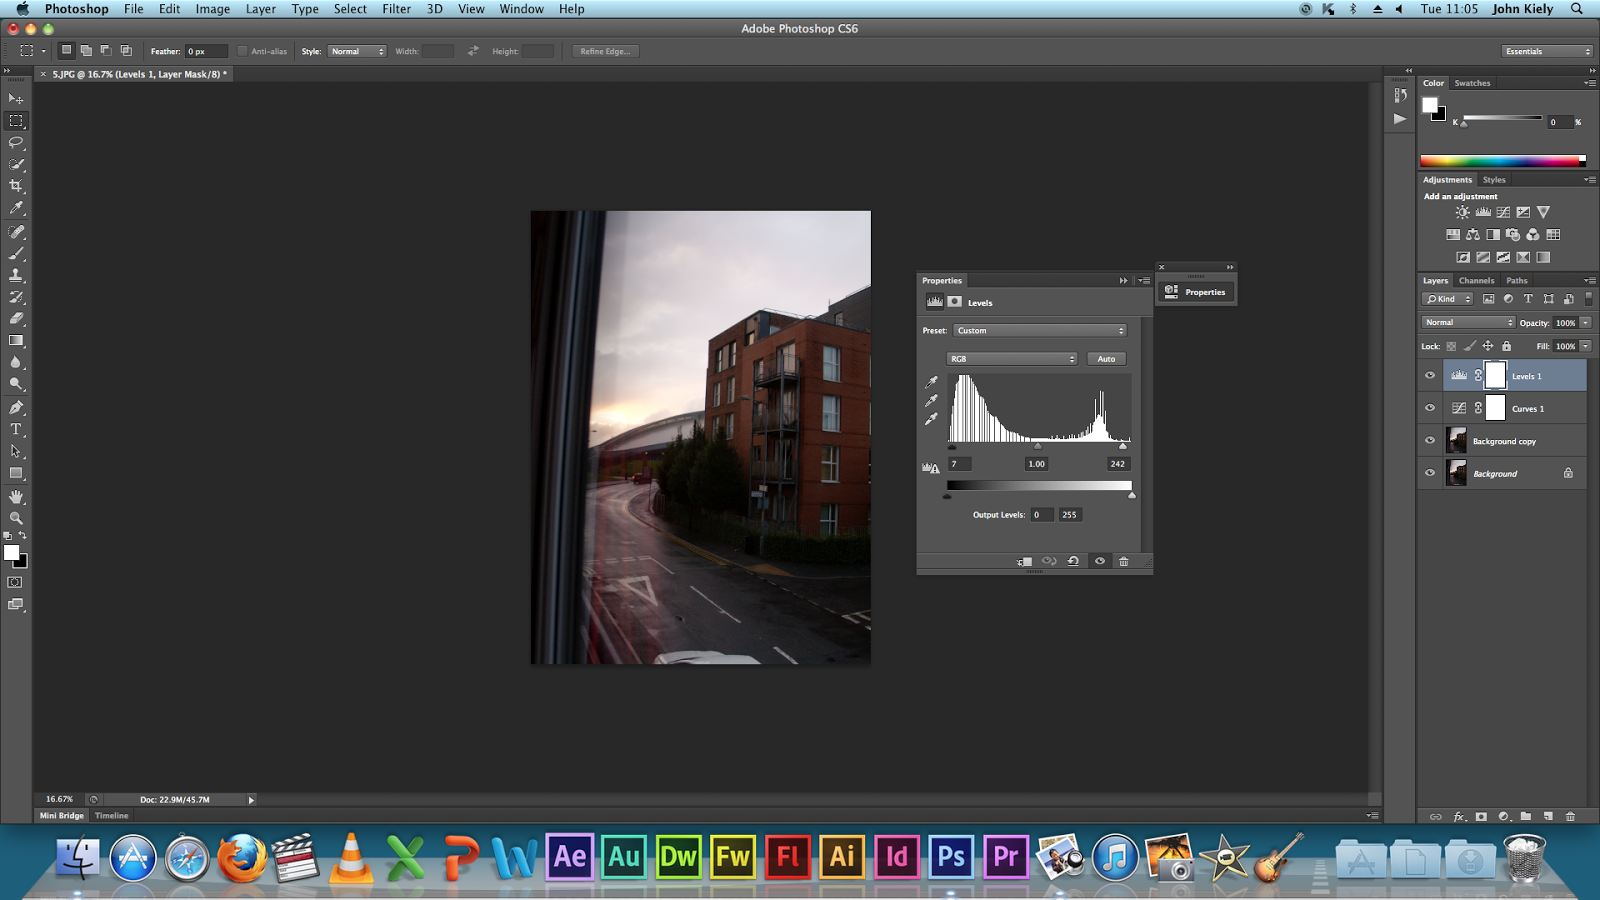
In this picture I have changes the brightness and the contrast of the red background so it doesn't stand out as much. I have also changes the levels and the curves to make the picture look more vibrant.


Zuzia is 5 months old and who loves moving around so to get a still image I've changed settings on my camera to :

1/64sec; f;5.0 ISO:800 


Image 2 : Flash

 For this picture I have used flash, because flash was too strong for her eyes she also moved, so it added a movement to the picture.
I have edited the picture in Photoshop by changing the brightness and the levels.
 
 
1/64sec; f4.0; ISO 800; flash
 
 
Image 3: Movement
 
For my 3rd image I wanted to capture a movement , when she was waving .
I also edited this picture in Photoshop by changing the contrast and the brightness of the picture, and changed the curves to add detail to the face.


 1/20sec; f8.0; ISO 800
 
Image 4: Short depth of field
 

For this picture I wanted to capture short depth of field. I have focused on the bottle but you can still se the baby in the background holding it.

I edited this picture in Photoshop by changing brightness and the levels on the photo.


 1/64sec; f5.0; ISO 800


Image 5: Textures
 
For my final image I decided to do add some textures to the image, but before I added any I have edited the picture by changing the brightness of the picture.
 
 
1/64sec; f5.0 ISO 800
 
 
Textures I have found on the internet :


Image with the textures I have used: 


 To add layers I have made a background copy and opened my first texture with I Have then dragged on my main image using a move tool.


Then I blended the first layer using multiply on opacity 100%.
 
 
As you can see on the picture the texture went over the subject on the picture.
 
 
To make my subject clear i had to make the layer mask , then take a brush tool and clicking  on the subject and clearing it.


 Second texture I have added at the side , and  blended it in using ColourDodge on opacity 71%.


Textures I've used:
 
First texture:
 
 
 Second texture:


Final Images:


Wednesday 9 October 2013

Unit 1 Digital

Environment
 
For this task i needed to take three photographs of my environment around me.


I have opened this picture in photoshop cs 6 and I have made a background copy so that the original picture so i can edit the picture in a 'non destructive' form. And I have adjust the contrast by 'curves'  which has bring back more detail in the sky whilst maintaining the brightness , and 'levels'
to give the picture more warm darker colour.


I have also experinemted to see how the picture would look in black and white.


Second Picture


Third picture


Self Portraiture + Destroy

Self Portraiture

For the first photography lesson we have been toled to produce two self portraits pictures, one of our self and the other one of the things that describe us as a person.


This picture was taken with Olympus E300 DSLR camera, set on timer
I have choose this picture because it been taken in February and has memories behind it , its been taken on a trampoline that my brothers and I used to spend alot of time together back in time before Ive moved from Warrington to Manchester , it means alot for me because I dont see them as much anymore . This picture also shows who Iam as a person smiley and happy most of the time.

Takem by IPhone 4S camera
The secend self portrait shows the things that describe me as a person, facebook my phone and laptop that what I spend alot of time when I'm bored or its raining outside and I cant go out to do some picture or just go for a walk , I also love to read, listen to music or watch films. Picture with my mum , she means the world to me , she helped me to get thro alot , the things that made me the person I am now. And finally my little cute goddaughter to be Zuzia : )


For bthe next task we looked at Rankin Dastroy and we  have been asked to destroy our self portraits .
To destroy mine I have used liquefy tool in photoshop cs6